
If you’re an Adobe Illustrator user, please see How to Convert Handwriting to Vector Art in Illustrator.
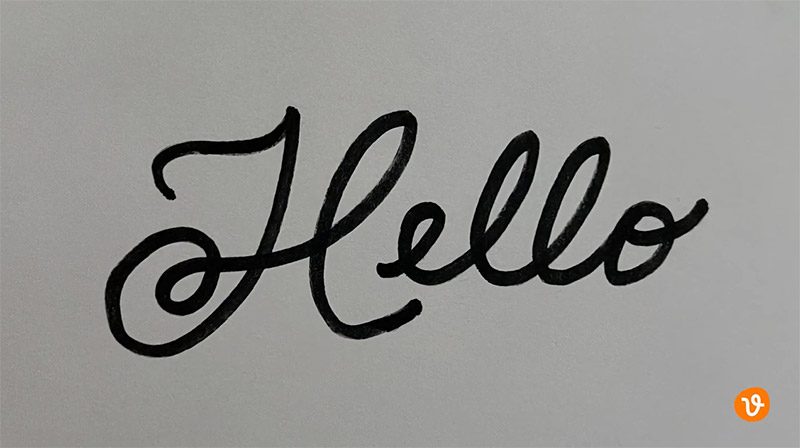
Today we’re going to be learning how to take handwriting and convert it into vector art in Inkscape quickly and easily. Once you know how to do it, you can easily create your own lettering styles to use in Inkscape. We’ve sketched out the word “hello” with this black marker on a sheet of white paper. This is important for contrast as we want to make sure the background and our writing stand out from each other.
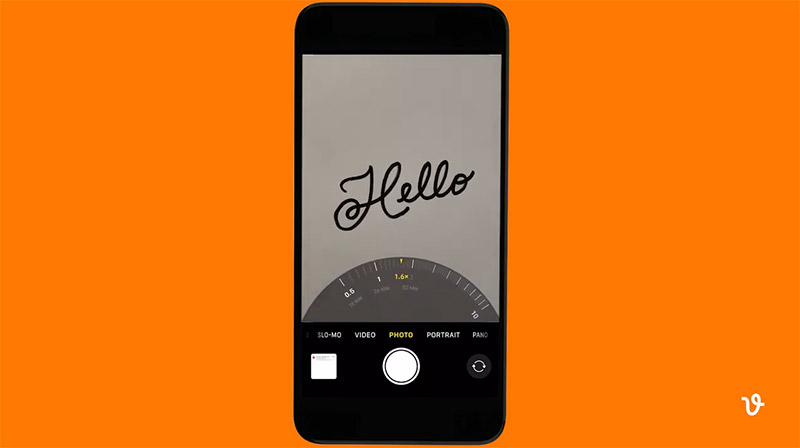
Next, we’ll scan the writing or simply take a photo of it with our smartphone. We’ll make sure there are no shadows in the photo and that we have adequate lighting for the best results.
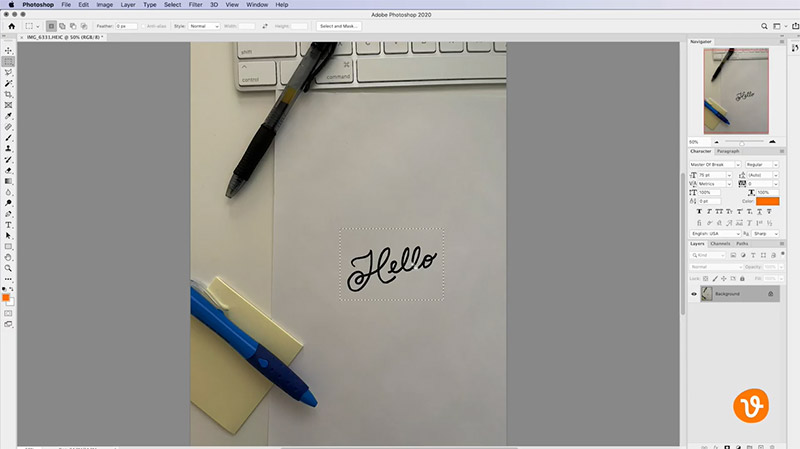
If your image has good contrast and your writing is the only thing in the photo, you’re ready to then import it into Inkscape. However, if your image needs to have its contrast improved or needs to be cropped, simply open the photo in GIMP or Photoshop to adjust its levels and contrast (in Photoshop, go to Image > Adjustments > Levels), crop your writing, and save the image as a PNG or JPG file.
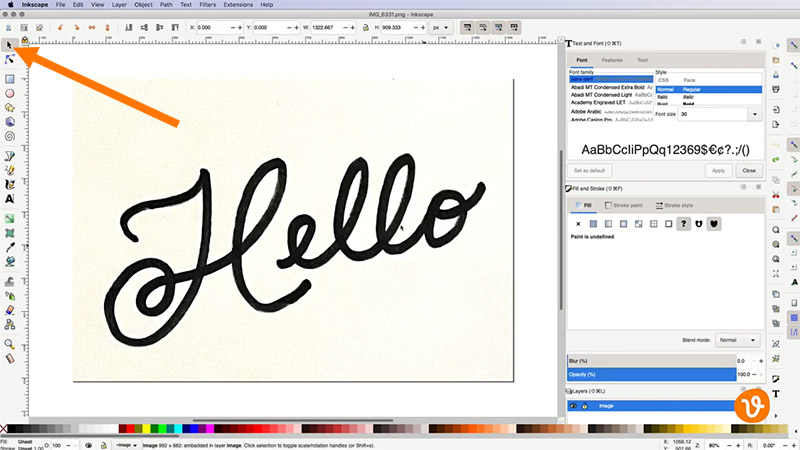
Next, open your image inside Inkscape and select it using the Selection tool.
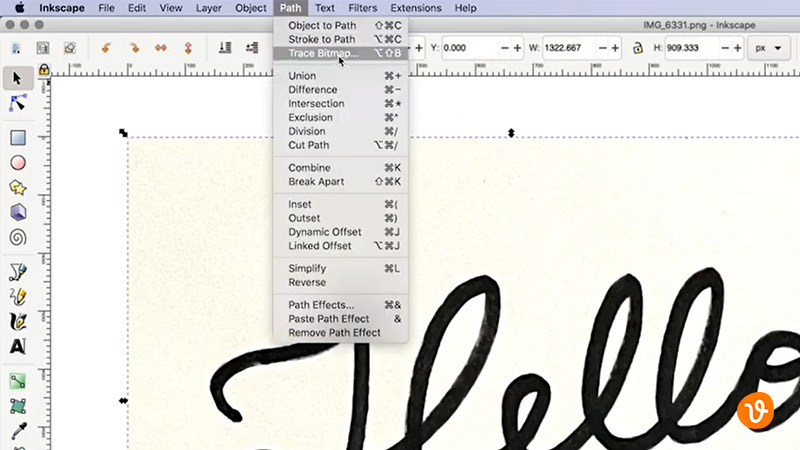
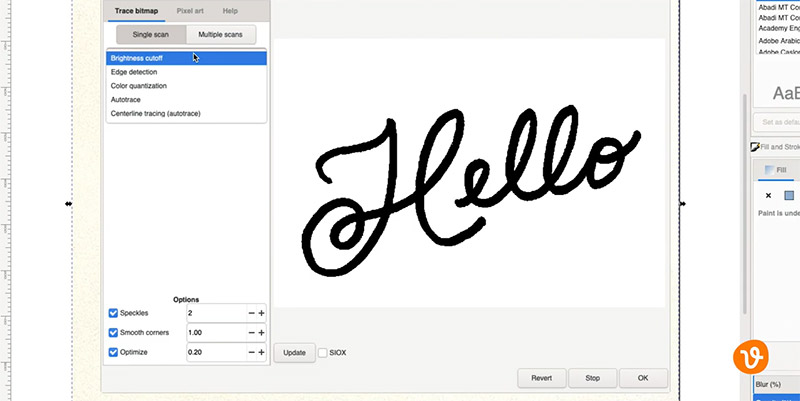
Go to the Path menu and select Trace Bitmap.
Get millions of stock images and videos at the best price
Unlimited access. No attribution required. Starts at just $9/month.

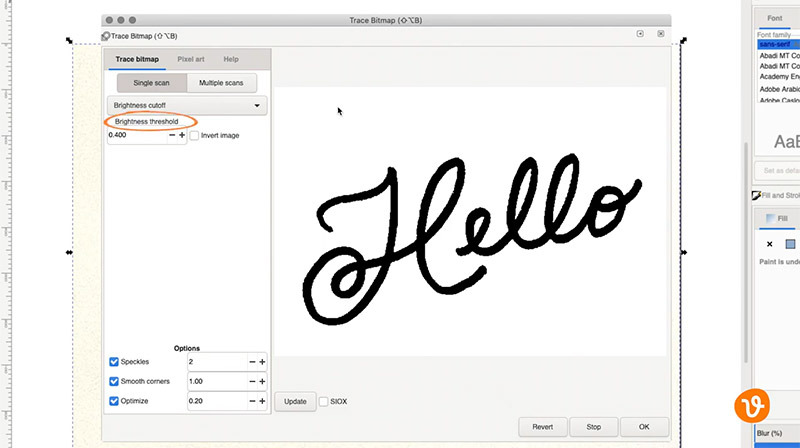
This will open the Trace Bitmap panel where you can control how Inkscape will vectorize your image. Use the Brightness Threshold field to enter a number that will define the sensitivity and the edges of your writing.
Related: What is a Vector File?
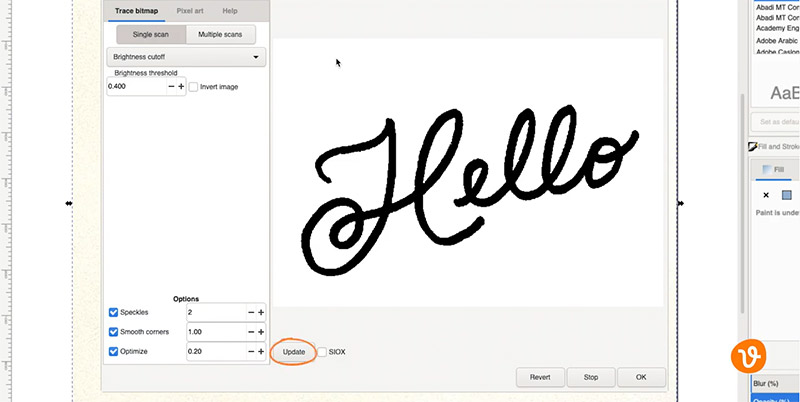
Use the Update button to preview your results.
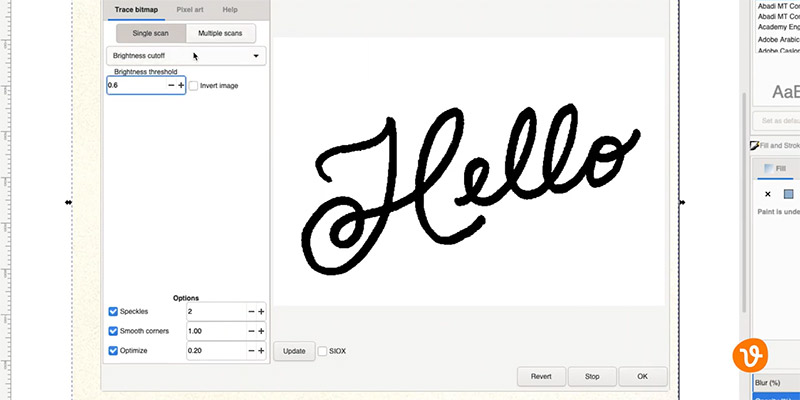
In this example, the default Brightness Threshold value of 0.4 didn’t look good and it actually clipped some of the edges of our text, so we upped the threshold to 0.6 for better results.
Use this control in addition to any of the other controls in the dropdown menu such as Edge Detection to further fine-tune your conversion.
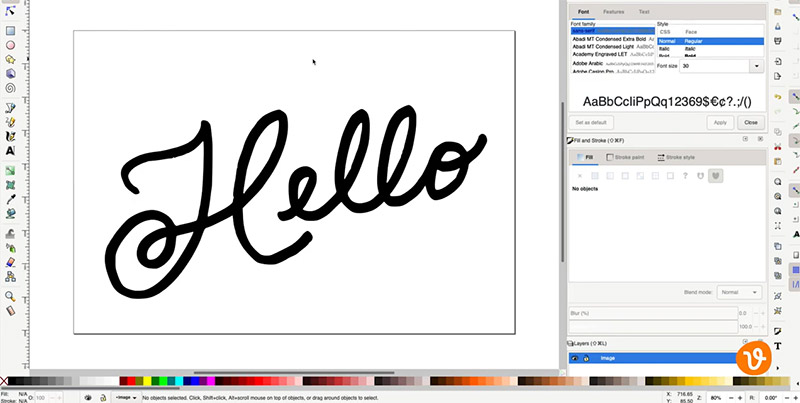
When you’re happy with your preview, click OK and Inkscape will vectorize the bitmap image. Then, you can remove the original bitmap image from your document so you’re left with only the vectorized version.
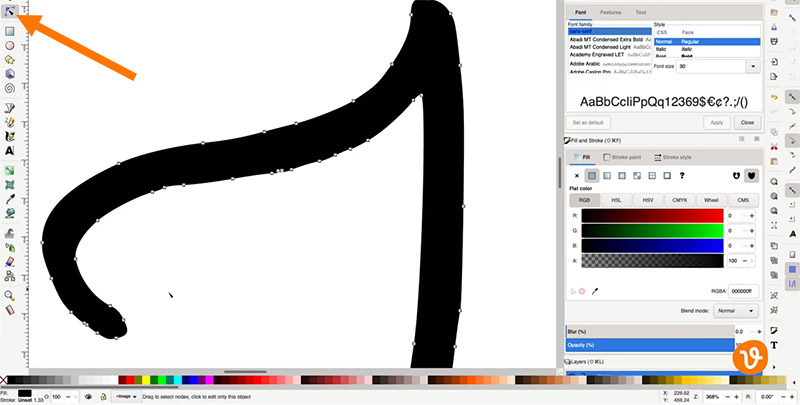
You can use the Node tool to modify any of its points and curves to clean up your writing or to make any other necessary adjustments.
Be sure to follow the Vecteezy YouTube channel for more tips.
For more on Inkscape, please see: