Repeating patterns can be used in many ways within your designs. Of course, we offer a huge selection of patterns here at Vecteezy, but it’s also helpful to know how to create your own. Today, we’re going to be learning how to create and apply custom patterns in Inkscape. Let’s start by making a custom pattern.
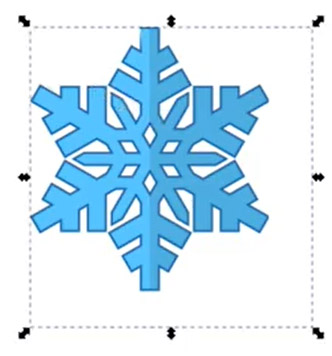
We’ve downloaded a snowflake vector and customized it, and now we want to replicate it and use it as a custom pattern.

To do this, we need to tell Inkscape to convert it into a pattern that can then be applied to objects within our document. To do this, we’ll select the pattern’s elements with the Selection tool.
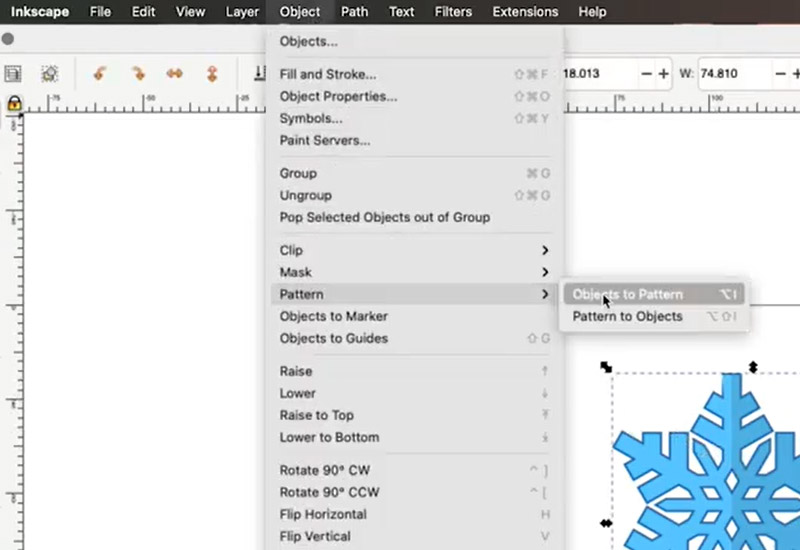
Then we’ll go to Object > Pattern > Objects to Pattern.
You can then use the Node tool to adjust the pattern’s position, scale, and rotation inside the object.
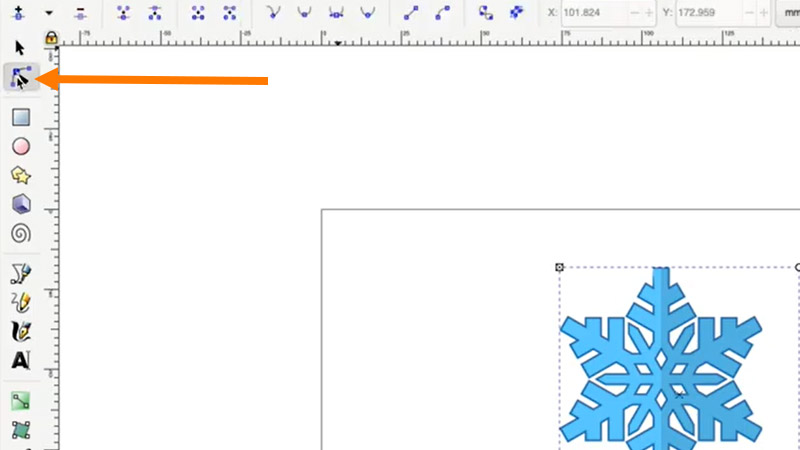
Use the circle icon to adjust its rotation.
Get millions of stock images and videos at the best price
Unlimited access. No attribution required. Starts at just $9/month.
![]()
Click the box icon to adjust its scale.
![]()
It’s important to take note of the name Inkscape has assigned to your pattern in the Fill and Stroke panel if you want to use the pattern on other objects.
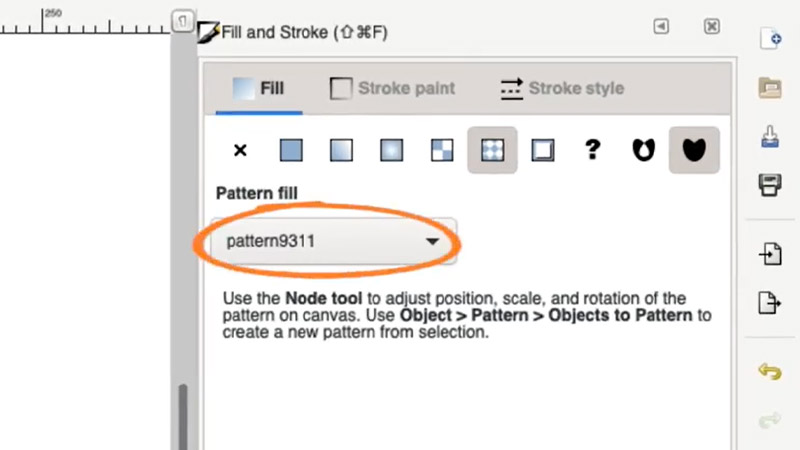
Now that we’ve created our pattern, let’s apply it to another object. In this case, let’s create some snowflake wrapping paper. First, select the object we want to fill with the Selection tool or the Node tool.
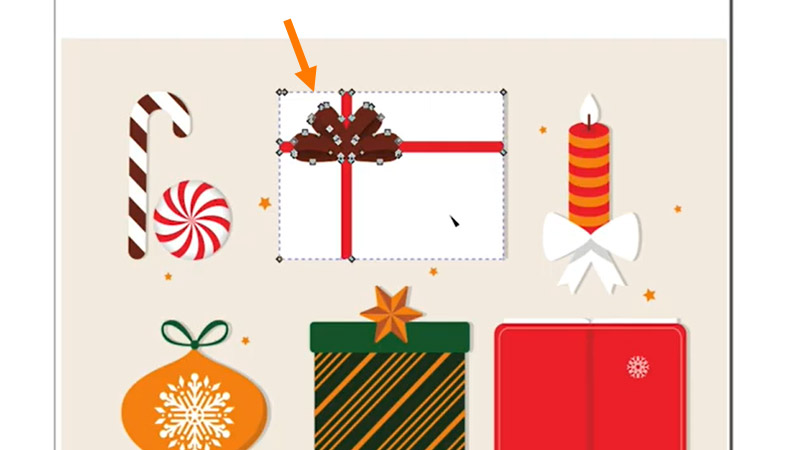
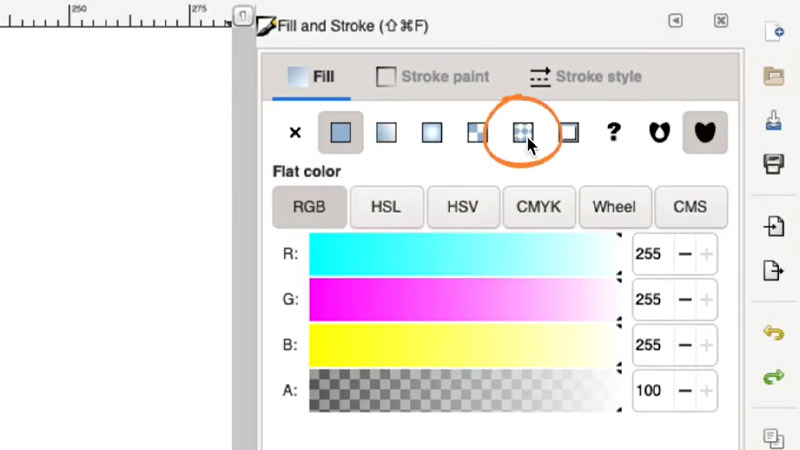
Then, go to the Fill and Stroke panel and select the pattern icon. This will tell Inkscape to fill the object with the pattern instead of a solid fill color or gradient.
Click the dropdown menu and select the pattern we just created.
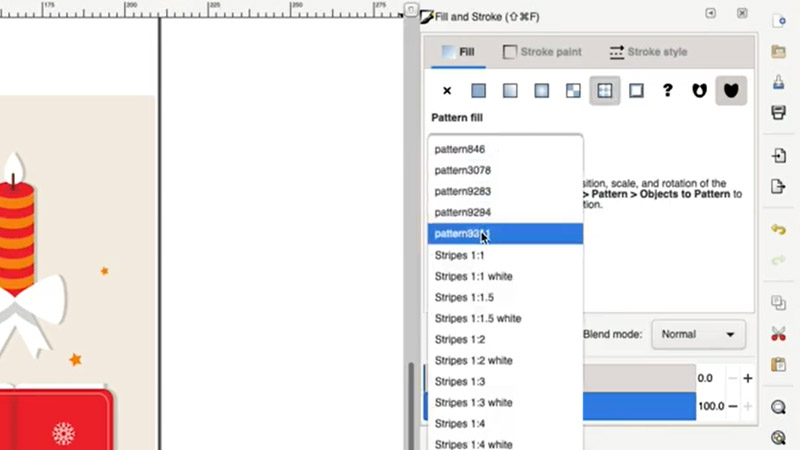
Like before, you can use the Node tool to adjust the pattern’s size and placement within the object.

It’s that simple to create a custom pattern and apply it to objects within Inkscape!
Be sure to check out these other Inkscape tutorials:
- How to Create and Work With Shapes in Inkscape
- Convert Handwriting to Vector Art in Inkscape
- How to Work With Text in Inkscape
Lead image by Cami Dobrin.

