Do you use mood boards as a part of your design process? If not, you may be missing out on something that can help to organize your ideas and inspiration and streamline your communication with colleagues and clients. Let’s take a look at mood boards and how they can improve your workflow.
What Is a Mood Board?
A mood board is a visual collection of ideas and styles that will be used within a design. Designers find inspiration from many different sources and for many different aspects of a design. The mood board is essentially a collage that is used to compile that inspiration.
Mood boards can be physical or digital and they may include things like color palettes, fonts, photos, sketches, layouts, and design styles. Designers can use a mood board to organize their thoughts and plans in the early stages of a particular project.
Physical mood boards can be created by cutting photos or pages out of magazines or other printed material. These elements of inspiration can be pinned to a corkboard or attached to poster board.
An easy way to create a digital mood board is to use Pinterest. Additionally, there are a number of apps and tools like SampleBoard and Mural that make it easy to create, manage, and share mood boards. Other tools like Colormind make it easy to create and share color palettes.
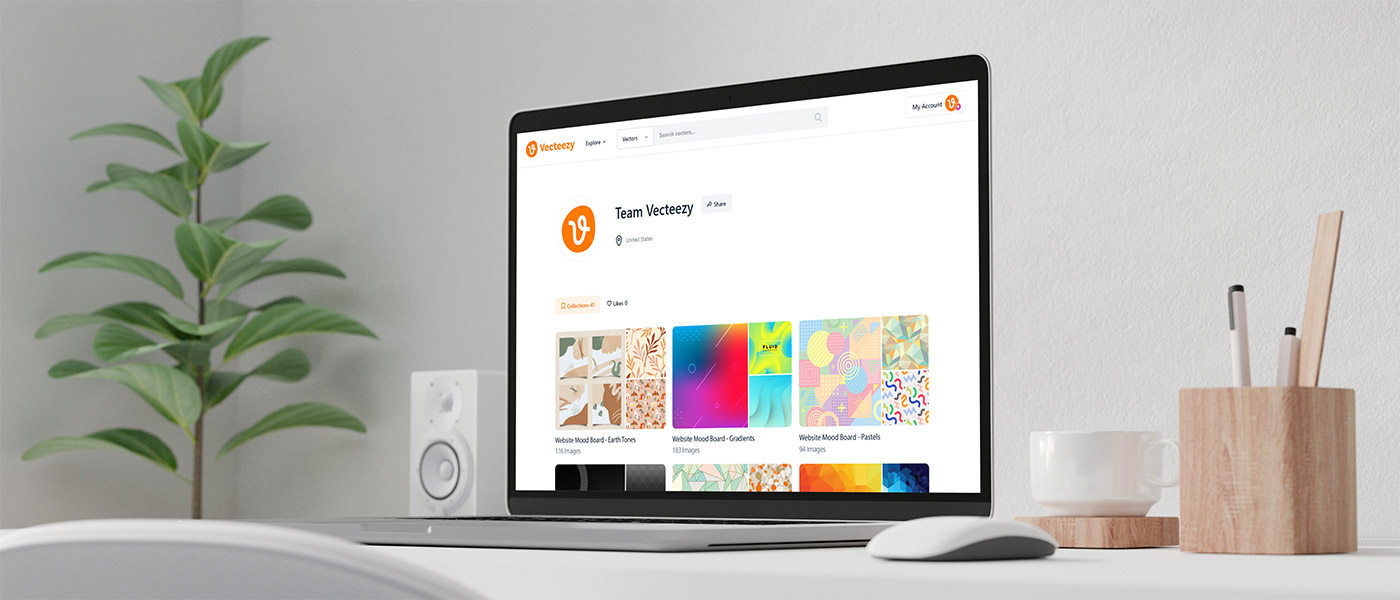
You can also create a mood board directly in your Vecteezy profile (free or Pro) by using collections. You can create a collection for your project and save images as you search or browse Vecteezy. Then, when you view the collection, you’ll have your inspiration in one handy place. For more on collections and how to use them, please read 4 Ways to Use Collections to Organize Your Resources.
Why Create a Mood Board?
Mood boards can be useful for several different reasons, including:
Get millions of stock images and videos at the best price
Unlimited access. No attribution required. Starts at just $9/month.
- Expressing ideas visually rather than in text
- Organizing your thoughts and inspiration to provide direction for a design
- Capturing inspiration and ideas so they’re not forgotten or overlooked
- Collaborating with colleagues
- Communicating with clients during the early stages of a project
Most designers can relate to projects that take up a lot of time and effort only to realize later on in the process that the client doesn’t like the direction. These issues can be avoided with the help of mood boards. The client will be able to visually see your ideas and get a better picture of the direction you’d like to take the project. Any objections can be addressed before spending hours on the design.
How to Create a Mood Board
Compiling a mood board is a creative process, so you need to have some flexibility and feel free to do it your own way. The best way to learn how to use mood boards is to try it out and get some experience. You’ll learn a lot more by doing than you will by reading. But if you’re looking for direction, here are some general steps that you can follow.
Step 1: Choose a Format
Decide on the format that will work best for you. Digital mood boards can be really convenient because they’re easy to share with colleagues and clients. If you’re working remotely, you can easily collaborate and communicate. Colleagues and clients won’t need to meet with you in person in order to see and experience your ideas.
Step 2: Gather Your Inspiration
Once you’ve chosen a format, it’s time to start gathering the items to include. If you’re using a digital mood board, you can include any photo or image that’s online, or upload files from your computer. If you’re using a physical format, you’ll need to cut out the items that you want to include, or print photos to add to the mood board.
The process of gathering this inspiration may take some time. It’s best if you have the flexibility in your timeline to avoid rushing this part of the process. Make a habit of saving images, colors, fonts, and other elements that you find inspiring or catch your eye. When you need them, they’ll be organized and waiting for you.
Step 3: Include Explanations
While the visual aspects and elements will do most of the communicating, adding some explanations or notes can be helpful too, especially for your clients. You can explain exactly why something is being added to your mood board and how it can be used or is relevant to the project.
Including written explanations is a little easier with digital mood boards as opposed to physical mood boards. Most apps and tools for creating mood boards include the functionality that allows you to add notes as needed.
Step 4: Create More Than One
There will be times when you’ll want to create more than one mood board for a project. For example, you could create two different mood boards if you’re trying to decide between two different directions that you could take the project.
Creating multiple mood boards can help you, your colleagues, and your clients to visualize the options and to choose the one that is the best fit for the project. Putting some time into this part of the process early on in the project can help to get the best possible end result.
Step 5: Adapt
Creating a mood board is a fluid process. Be willing to add and remove items as needed. This is especially true if you’re working with colleagues or clients. You may even want to have the client add some items in their own to get their vision for the design and see what they have in mind.
Conclusion
Mood boards can be very effective for organizing inspiration, communicating with colleagues and clients, and establishing direction before the real design work begins. When everyone is one the same page, you’ll avoid wasted time and unnecessary revisions and changes in direction. Like anything else, working with mood boards takes a little bit or practice, but the best way to learn is simply by doing it.
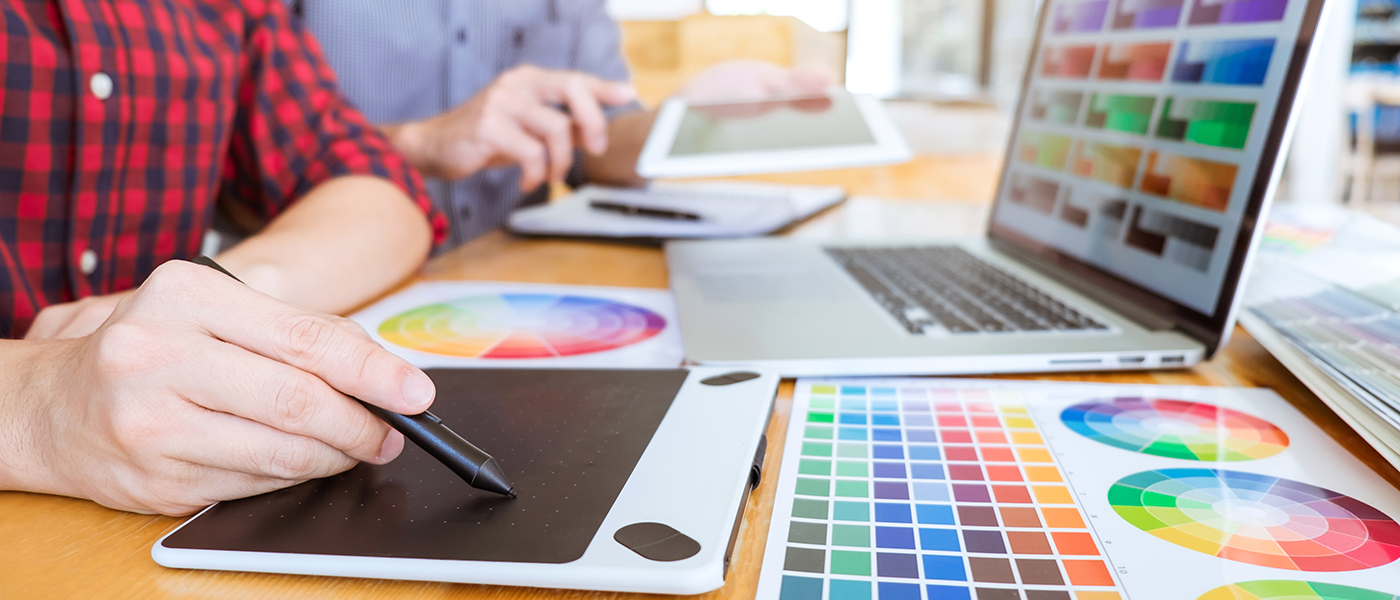
Lead image by ngampol.photo7380957640